Best Photos to Turn into X-Ray Renders (And What to Avoid)
Not every photo works for X-ray, thermal, or night vision filters. Here's what makes a great AI render and the mistakes that kill results.

Not every photo looks good as an X-ray, thermal, or night vision render. The AI can only work with what you give it — and the same model that nails one photo can butcher another. After generating thousands of renders, we've noticed clear patterns about what works.
Here's what to aim for and what to avoid.
What works best
1. Clear, well-lit portraits
A single subject in focus, decent lighting, and a relatively uncluttered background give the AI the easiest job. It can clearly identify the subject, preserve the pose, and apply the style without confusion.
Why: image-to-image models need to understand what's in the photo before they can restyle it. Ambiguous subjects (multiple people overlapping, tiny figures in a busy scene) produce messier results.
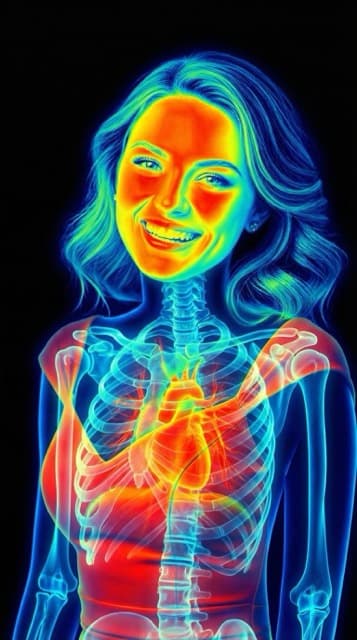
2. Full-body shots for skeleton mode
The skeleton X-ray filter is by far the most dramatic on full-body portraits where the AI has bones to work with — skull, ribcage, spine, arms, and legs all rendered clearly.
Half-body shots work but look less impressive. Close-up face shots produce a floating skull that's... either funny or unsettling depending on your taste.
3. Pets
Dogs and cats produce surprisingly great thermal and skeleton renders. The AI handles the different body shape well, and the results are usually hilarious or adorable depending on the pose.
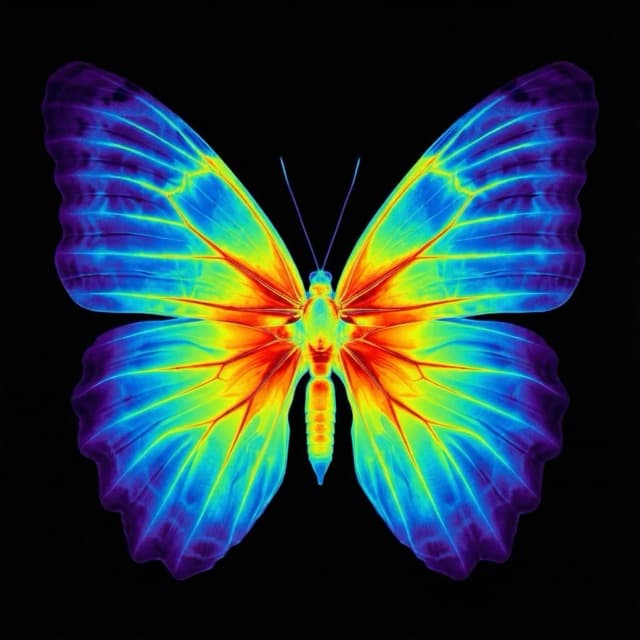
4. Contrast-rich scenes
The thermal filter shines on scenes with clear “warm” and “cool” areas — a person against a darker background, a hand near a window, anything where there's a natural subject-to-background separation. The AI uses those cues to place heat zones realistically.
5. Simple props
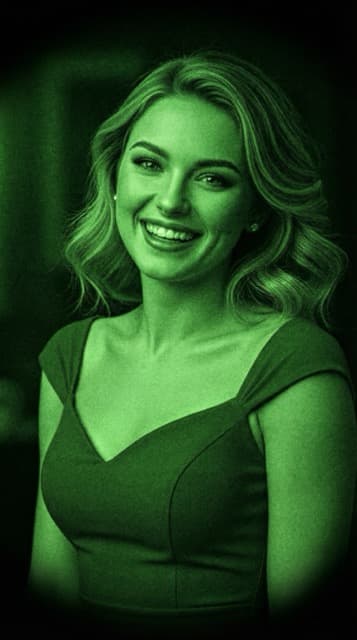
Halloween costumes, tactical gear, and single-prop setups (sunglasses, hats, weapons for movie-style scenes) all render extremely well in night vision. The AI loves a clear silhouette.
What to avoid
Group shots with multiple subjects
When there are 3+ people in the frame, the AI tends to merge or distort bodies in skeleton mode. The bones start connecting in weird ways. Solo or pair shots work much better.
Photos with text or graphics
Text overlays, watermarks, or visible logos tend to get “styled” along with the rest of the image, producing garbled or warped text. If you want a clean render, remove or crop out text-heavy elements first.
Already-filtered or heavily edited photos
Photos with strong Instagram filters, HDR, or heavy retouching confuse the AI. It tries to style an already-styled image and the result feels muddy. Start from the raw or lightly-edited original whenever possible.
Very low resolution
Under ~500px on the short edge, you'll get a blurry render. The AI can only restyle the detail that's there to begin with. Aim for at least 1000px on the short edge for crisp results.
Extreme close-ups
Macro-level shots of one eye, one ear, or a single finger don't give the model enough context to apply the style meaningfully. Zoom out and include more of the subject.
Pro tips
- Golden hour portraits turn into stunning thermal renders — the natural warm light tones translate beautifully to heatmap colors.
- Black backgrounds work especially well for skeleton mode; the skeleton pops without compete from a busy scene.
- Halloween costumes are a cheat code — skeleton filter on a zombie costume is a whole vibe.
- Same photo, all three styles makes a great social media carousel. Upload once, generate three, post as a comparison.
Try it on your best photo
Get the X-Ray Camera app, pick a photo from the list above, and run it through all three styles. The cost of trying is basically zero, and a clean source photo turns into something genuinely shareable.
Keep reading
Try X-Ray Camera Free
Transform any photo with AI — thermal, night vision, or skeleton styles.